

一、先准备账号
通常要先准备两个平台账号:
- GitHub
- Vercel
GitHub 用来管理源码,Vercel 用来接入并部署前端项目。
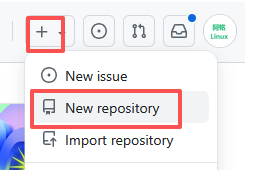
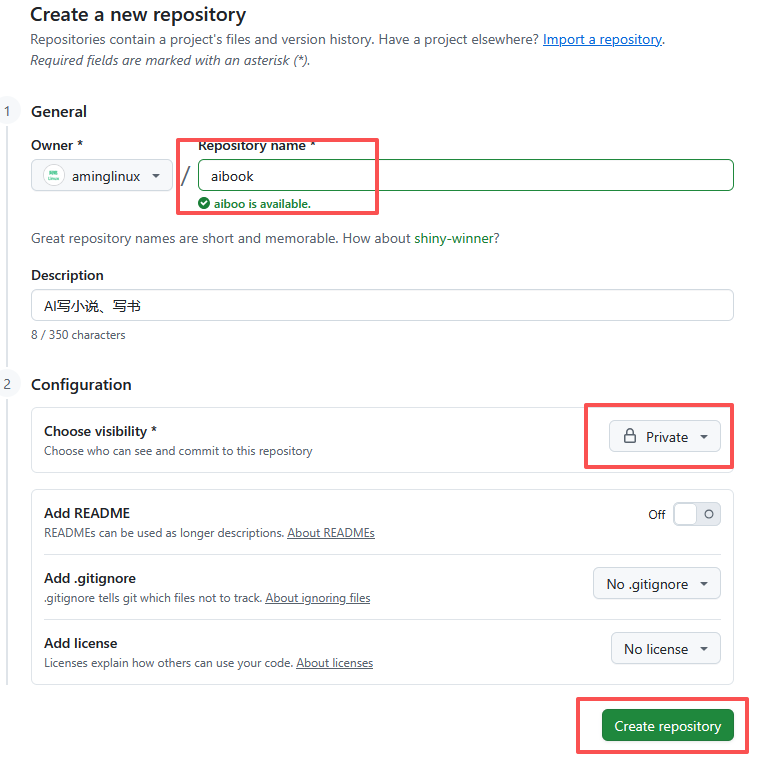
二、在 GitHub 创建项目
进入 GitHub 后,新建一个空仓库即可。
三、安装 Git
3.1 Windows
下载地址:
https://git-scm.com/install/windows
3.2 Linux
# Rocky / CentOS / RHEL
dnf install -y git

# Ubuntu
apt install -y git
四、生成 SSH Key
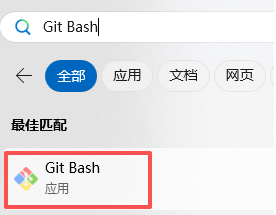
4.1 Windows
打开 Git Bash,执行:
ssh-keygen
一路回车即可。
4.2 Linux
终端里同样执行:
ssh-keygen
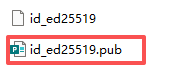
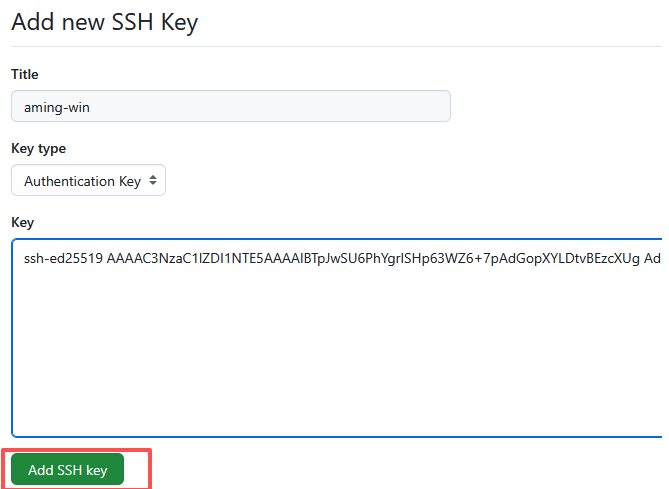
五、把公钥配置到 GitHub
找到你的公钥文件,例如:
- Windows:
C:\Users\<username>\.ssh\id_rsa.pub - Linux:
~/.ssh/id_rsa.pub
复制内容后,进入 GitHub 的 SSH Key 配置页面,把内容贴进去。
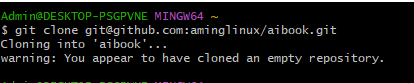
六、克隆空仓库到本地
拿到仓库地址后执行:
git clone git@github.com:<your-username>/<your-repo>.git

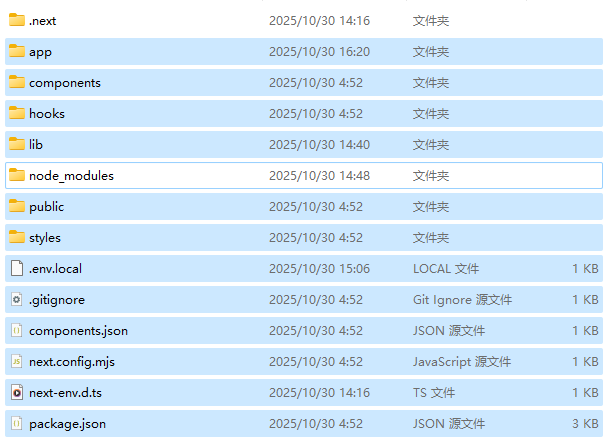
七、把 AI 生成的项目复制进去
需要注意的是,不要把这些目录直接带进仓库:
node_modules.next
这些内容应该由依赖安装和构建过程重新生成。
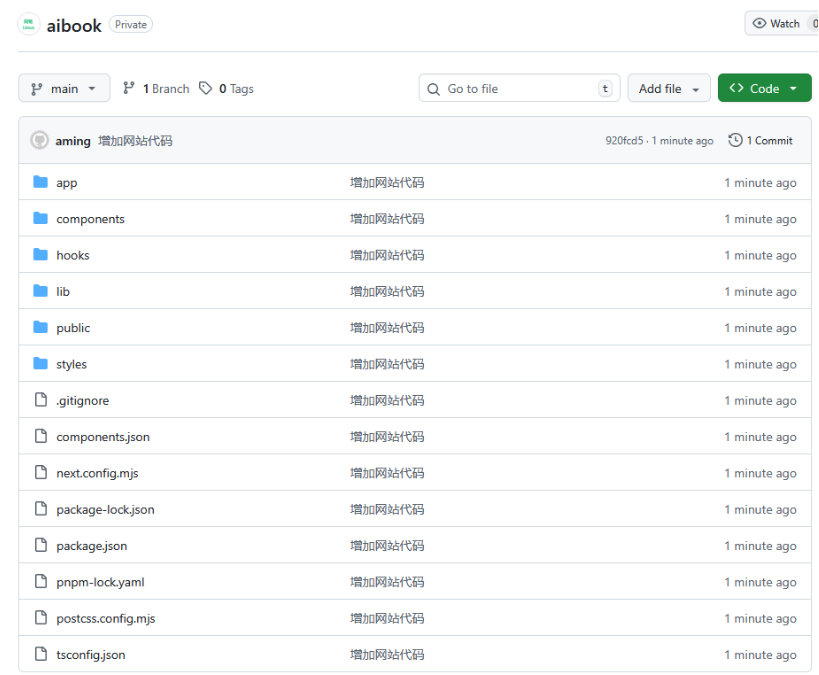
八、推送代码
进入项目目录后执行:
git add .
git commit -m "初始化网站代码"
git push
如果 Git 提示没有配置用户名和邮箱,可以这样设置:
git config --global user.email "<your-email>"
git config --global user.name "<your-name>"
推送成功后,代码就已经进入 GitHub 仓库。
九、为什么这一步不能省
很多人会把“AI 生成好了代码”误以为项目就差不多完成了,但实际上:
- 没进版本库就无法协作;
- 没推远端就难以做自动部署;
- 没有 Git 历史就很难追踪迭代。
所以 GitHub 不是最后才做的事,而是项目真正进入工程化阶段的起点。