

一、实现一个简单的需求
目标:通过自然语言来添加资产(主机)
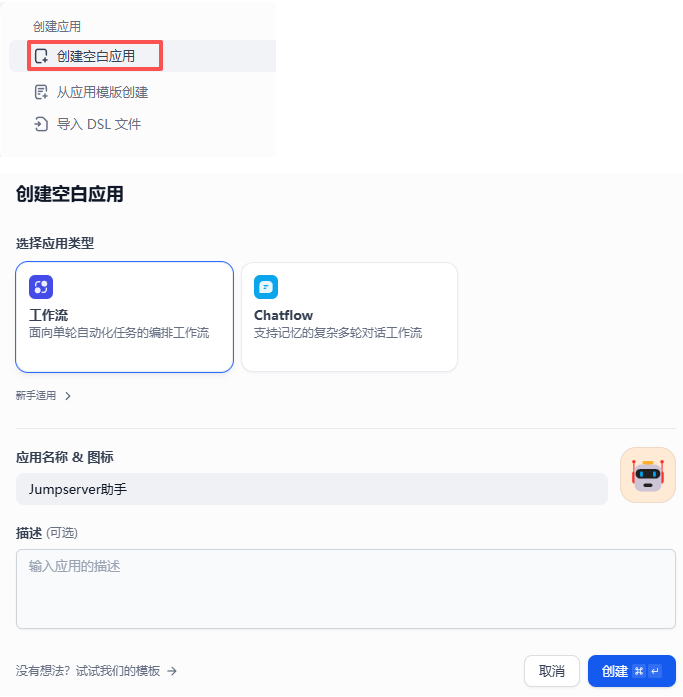
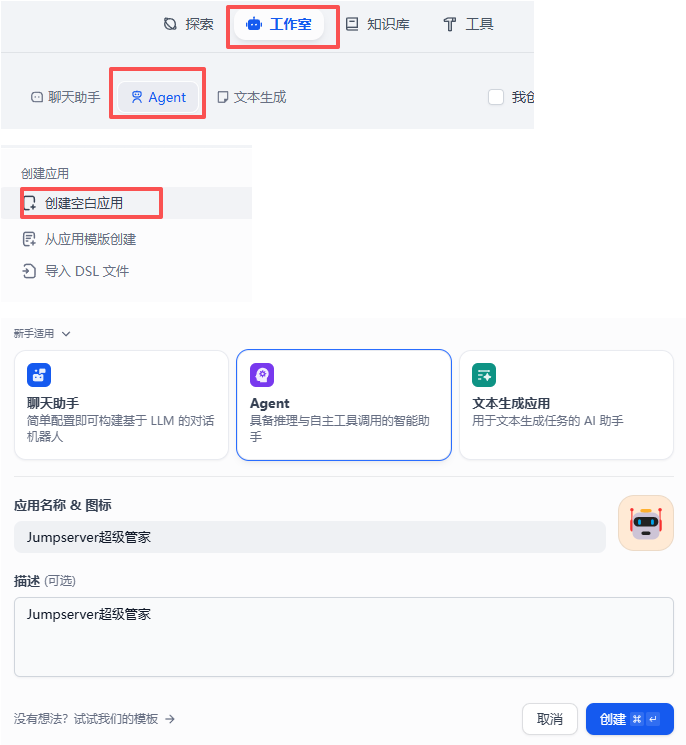
3.3.1 创建Dify应用
1、创建空白应用、工作流模式
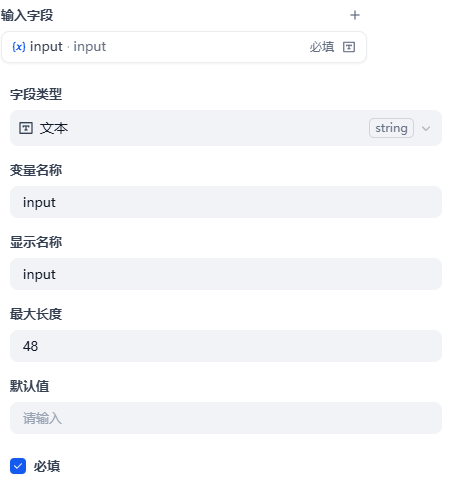
2、开始节点,添加变量input
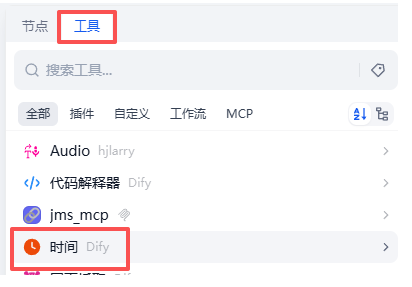
3、添加获取当前时间节点
因为后面添加主机时,需要当前时间戳
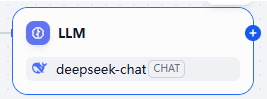
4、添加节点:LLM(deepseek-chat)
用来从用户的自然语言中提取关键信息,比如主机IP、用户名、密码等信息
设计提示词:
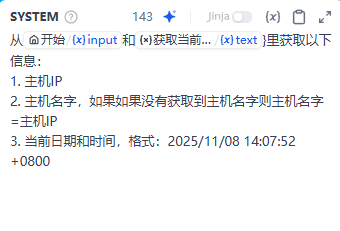
从 xxxxxx 里获取以下信息:

1. 主机IP
2. 主机名字,如果如果没有获取到主机名字则主机名字=主机IP
3. 当前日期和时间,格式:2025/11/08 14:07:52 +0800
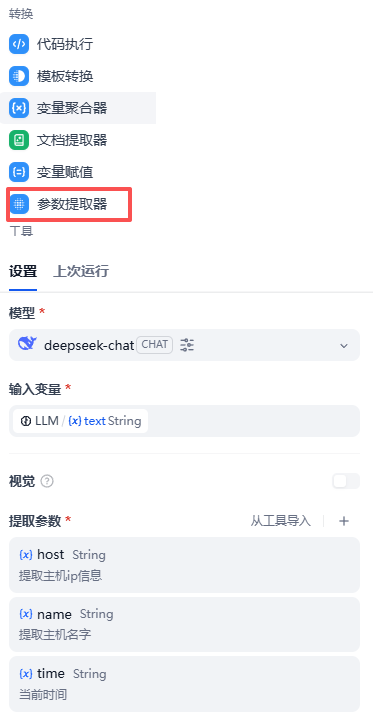
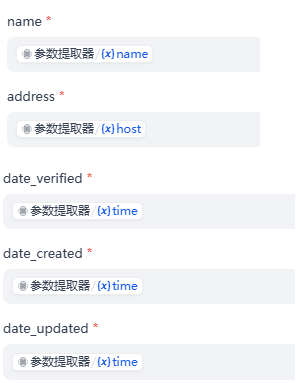
5、添加参数提取器节点
这个节点的作用是从LLM节点里提取我们想要的信息,比如主机IP、主机名字以及时间
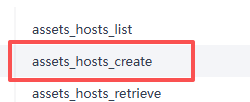
6、添加工具节点assets_hosts_create
这个就是添加主机的工具了,是整个工作流的中心
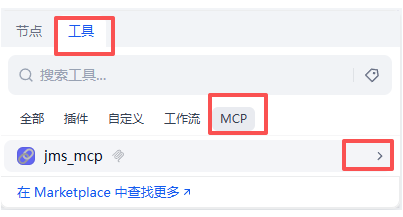
找到assets_hosts_create工具
单击此节点,设置参数,其中绝大多数参数可以直接写死,比如
"platform": {
      "id": 1,
      "name": "Linux",
      "type": "linux"
    }

"nodes":[
      {
        "id": "eefb39b4-ecd4-4185-8f22-44e854768e34",
        "name": "DEFAULT"
      }
    ]

"labels": []

"accounts_amount": 1

"category": {
      "value": "host",
      "label": "Host"
    }

 "type": {
      "value": "linux",
      "label": "Linux"
    }

"connectivity": {
      "value": "ok",
      "label": "OK"
    }

"auto_config": {}

"org_id": "00000000-0000-0000-0000-000000000002"

"org_name": "DEFAULT"

"created_by": "<your-jumpserver-api-user>"

"spec_info": {}

is_active: true
查看参数以及示例数据:
curl -X GET http://jms/api/v1/assets/hosts/ -H "Content-Type: application/json" -H "Authorization: Bearer <your-api-token>" |jq
示例数据:
[
  {
    "id": "c2d7a0a6-8845-4e2c-b6cc-123363780d56",
    "name": "test1",
    "address": "192.168.186.130",
    "zone": null,
    "platform": {
      "id": 1,
      "name": "Linux",
      "type": "linux"
    },
    "nodes": [
      {
        "id": "eefb39b4-ecd4-4185-8f22-44e854768e34",
        "name": "DEFAULT"
      }
    ],
    "labels": [],
    "protocols": [
      {
        "name": "sftp",
        "port": 22
      },
      {
        "name": "ssh",
        "port": 22
      }
    ],
    "nodes_display": [
      "/DEFAULT"
    ],
    "directory_services": [],
    "accounts_amount": 1,
    "category": {
      "value": "host",
      "label": "Host"
    },
    "type": {
      "value": "linux",
      "label": "Linux"
    },
    "connectivity": {
      "value": "ok",
      "label": "OK"
    },
    "auto_config": {
      "su_enabled": true,
      "gateway_enabled": true,
      "ansible_enabled": true,
      "id": 1,
      "ansible_config": {
        "ansible_connection": "smart"
      },
      "ping_enabled": true,
      "ping_method": "posix_ping",
      "ping_params": {},
      "gather_facts_enabled": true,
      "gather_facts_method": "gather_facts_posix",
      "gather_facts_params": {},
      "change_secret_enabled": true,
      "change_secret_method": "change_secret_posix",
      "change_secret_params": {},
      "push_account_enabled": true,
      "push_account_method": "push_account_posix",
      "push_account_params": {
        "home": "",
        "sudo": "/bin/whoami",
        "shell": "/bin/bash",
        "groups": ""
      },
      "verify_account_enabled": true,
      "verify_account_method": "verify_account_posix",
      "verify_account_params": {},
      "gather_accounts_enabled": true,
      "gather_accounts_method": "gather_accounts_posix",
      "gather_accounts_params": {},
      "remove_account_enabled": true,
      "remove_account_method": "remove_account_posix",
      "remove_account_params": {},
      "platform": 1
    },
    "gathered_info": {
      "vendor": "VMware, Inc.",
      "model": "VMware Virtual Platform",
      "sn": "NA",
      "cpu_model": "AMD Ryzen 7 6800H with Radeon Graphics x1",
      "cpu_count": "1",
      "cpu_cores": "1",
      "cpu_vcpus": "1",
      "memory": "1.8818359375",
      "disk_total": "40.0",
      "distribution": "Ubuntu",
      "distribution_version": "22.04",
      "arch": "x86_64",
      "gpu_model": ""
    },
    "org_id": "00000000-0000-0000-0000-000000000002",
    "org_name": "DEFAULT",
    "spec_info": {},
    "is_active": true,
    "date_verified": "2025/11/03 21:08:04 +0800",
    "date_created": "2025/11/03 21:07:57 +0800",
    "date_updated": "2025/11/03 21:07:57 +0800",
    "comment": "",
    "created_by": "Administrator"
  }
]
其中有几个需要设置为前面节点的输出变量
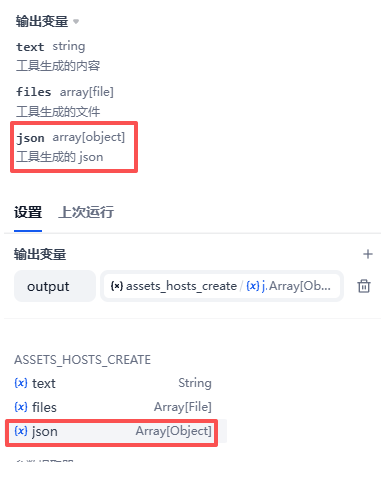
7、结束节点
输出内容就是assets_hosts_create的输出中的'json'变量的值
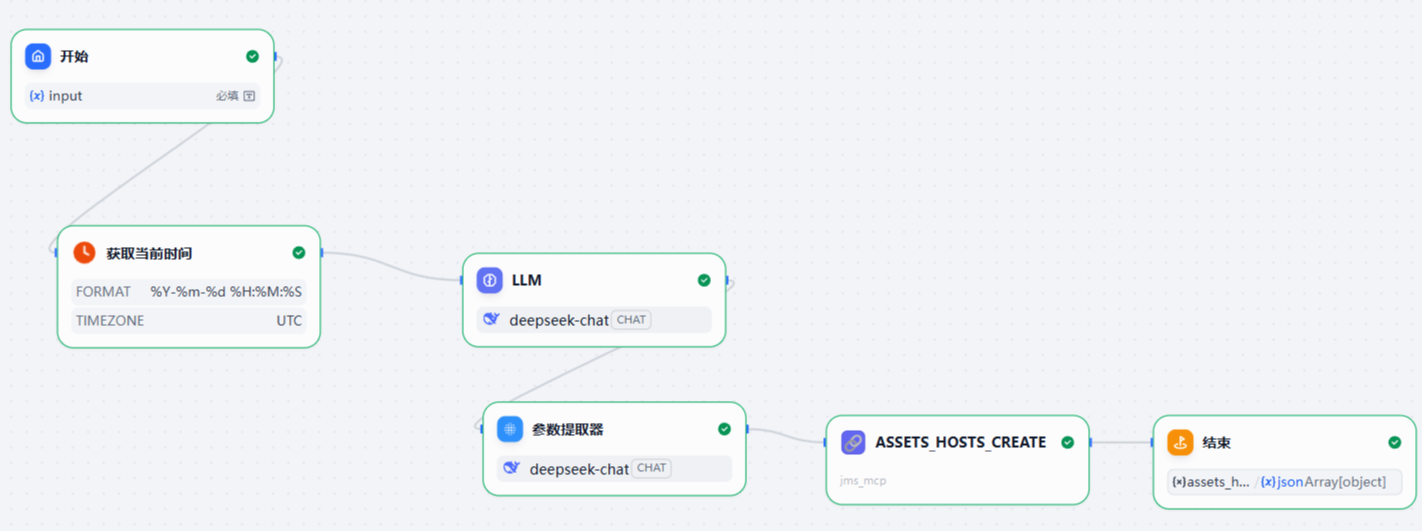
看一下最终的工作流就是这样:
3.3.2 测试Dify应用
试运行
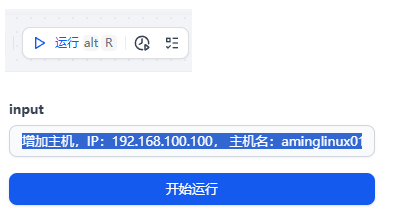
增加主机,IP:192.168.100.100, 主机名:aminglinux01
3.3.3 做一个综合性应用
目标:做一个智能体,可以实现创建主机、创建用户、授权资产等功能
1、创建Agent应用
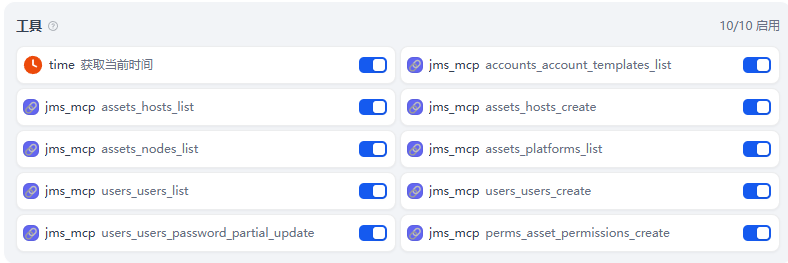
2、添加工具
3、设置提示词
该应用最关键点是撰写提示词:
利用现有工具实现用户需求,工具功能列表如下:
1. accounts_account_templates_list : 列出账号模板
2. assets_hosts_list : 列出主机
3. accsets_hosts_create : 创建主机
4. accsets_nodes_list : 列出节点
5. assets_platforms_list : 列出平台
6. users_users_list : 列出用户
7. users_users_create : 创建用户
8. perms_assets_permission_create : 授权用户对某个资源有权限
9. users_users_password_partial_update : 更改用户密码

规则:
1. 当落地需求时,可能涉及到输入参数,如果用户没有提供参数的值,需要通过工具去查一下,比如查询节点信息、查询平台信息、查询用户模板等。
2. 需求可能包含多个:比如创建用户并授权指定主机,所以这就需要先调用创建用户的工具然后调用授权的工具。
3. 如果在创建用户的同时指定了用户的密码,需要先调用users_users_create工具创建,再调用users_users_password_partial_update工具更改用户密码,来使用指定密码。
4、测试
增加主机
增加主机: 192.168.188.166, 主机名:aminglinux99, 节点:Default, 平台:Linux,使用模板用户:aming
增加用户
增加用户,user02,email: user02@qq.com,密码设置为<your-user-password>
增加用户同时授权主机
增加用户user03, email: user03@qq.com, 同时将主机aminglinux99授权给user03