
一、在K8s中从零落地日志收集平台
官方文档:https://www.elastic.co/docs/deploy-manage/deploy/cloud-on-k8s
1.1 ECK安装
参考链接:https://www.elastic.co/docs/deploy-manage/deploy/cloud-on-k8s/install-using-yaml-manifest-quickstart
说明:目前版本已经更新到3.0.0
1、安装ECK CRD
[root@k8s-master01 ~]# mkdir eck
[root@k8s-master01 ~]# cd eck/
[root@k8s-master01 eck]# kubectl create -f https://download.elastic.co/downloads/eck/2.16.0/crds.yaml
# 验证
[root@k8s-master01 eck]# kg -f crds.yaml
NAME                                                   CREATED AT
agents.agent.k8s.elastic.co                            2025-04-23T05:27:55Z
apmservers.apm.k8s.elastic.co                          2025-04-23T05:27:55Z
beats.beat.k8s.elastic.co                              2025-04-23T05:27:55Z
elasticmapsservers.maps.k8s.elastic.co                 2025-04-23T05:27:55Z
elasticsearchautoscalers.autoscaling.k8s.elastic.co    2025-04-23T05:27:55Z
elasticsearches.elasticsearch.k8s.elastic.co           2025-04-23T05:27:55Z
enterprisesearches.enterprisesearch.k8s.elastic.co     2025-04-23T05:27:55Z
kibanas.kibana.k8s.elastic.co                          2025-04-23T05:27:55Z
logstashes.logstash.k8s.elastic.co                     2025-04-23T05:27:55Z
stackconfigpolicies.stackconfigpolicy.k8s.elastic.co   2025-04-23T05:27:55Z
2、安装ECK Operator
# 下载文件

[root@k8s-master01 eck]# wget  https://download.elastic.co/downloads/eck/2.16.0/operator.yaml

# 替换

[root@k8s-master01 eck]# sed -i s#docker.elastic.co/eck/eck-operator:2.16.0#registry.cn-hangzhou.aliyuncs.com/github_images1024/eck-operator:2.16.0#g operator.yaml

# 验证

[root@k8s-master01 eck]# grep -ri "image:" operator.yaml

      - image: "registry.cn-hangzhou.aliyuncs.com/github_images1024/eck-operator:2.16.0

# 应用

[root@k8s-master01 eck]# kubectl apply -f operator.yaml
3、查看部署状态
# 查看pod

[root@k8s-master01 eck]# kgp -n elastic-system

NAME                 READY   STATUS    RESTARTS   AGE

elastic-operator-0   1/1     Running   0          20s

# 查看sts

[root@k8s-master01 eck]# kg sts -n  elastic-system

NAME               READY   AGE

elastic-operator   1/1     174m
4、查看CRD
[root@k8s-master01 eck]# kubectl get crd | grep elastic
agents.agent.k8s.elastic.co                            2025-04-23T05:27:55Z
apmservers.apm.k8s.elastic.co                          2025-04-23T05:27:55Z
beats.beat.k8s.elastic.co                              2025-04-23T05:27:55Z
elasticmapsservers.maps.k8s.elastic.co                 2025-04-23T05:27:55Z
elasticsearchautoscalers.autoscaling.k8s.elastic.co    2025-04-23T05:27:55Z
elasticsearches.elasticsearch.k8s.elastic.co           2025-04-23T05:27:55Z
enterprisesearches.enterprisesearch.k8s.elastic.co     2025-04-23T05:27:55Z
kibanas.kibana.k8s.elastic.co                          2025-04-23T05:27:55Z
logstashes.logstash.k8s.elastic.co                     2025-04-23T05:27:55Z
stackconfigpolicies.stackconfigpolicy.k8s.elastic.co   2025-04-23T05:27:55Z
1.1 在k8s中一键部署ES高可用集群
参考链接:https://www.elastic.co/docs/deploy-manage/deploy/cloud-on-k8s/elasticsearch-deployment-quickstart
接下来即可使用自定义资源 Elasticsearch 一键启动一个 ES 集群。
1、创建一个用于放置日志收集工具的 Namespace
[root@k8s-master01 eck]# kubectl create ns logging
2、创建一个定义 Elasticsearch 集群的 Yaml 文件
[root@k8s-master01 eck]# vim es-cluster.yaml
apiVersion: elasticsearch.k8s.elastic.co/v1
kind: Elasticsearch
metadata:
  name: es-cluster
spec:
  version: 8.17.0
  image: registry.cn-hangzhou.aliyuncs.com/github_images1024/elasticsearch:8.17.0
  nodeSets:
  - name: default
    count: 3
   #config:
   #  node.store.allow_mmap: false
   #  if persistent
   #volumeClaimTemplates:
   #  - metadata:
   #      name: elasticsearch-data # Do not change this name unless you set
   #up a volume mount for the data path.
   #    spec:
   #      accessModes:
   #        - ReadWriteOnce
   #      resources:
   #        requests:
   #          storage: 5Gi
   #      storageClassName: standard
   #  no persistent
    podTemplate:
      spec:
        volumes:
          - name: elasticsearch-data
            emptyDir: {}
        # 提升虚拟地址空间的默认值
        initContainers:
          - name: sysctl
            securityContext:
              privileged: true
              runAsUser: 0
            command: ['sh', '-c', 'sysctl -w vm.max_map_count=262144']
3、创建集群
[root@k8s-master01 eck]# kubectl create -f es-cluster.yaml -n logging
4、查看状态
# 查看pod

[root@k8s-master01 eck]# kgp -n logging

NAME                      READY   STATUS    RESTARTS   AGE

es-cluster-es-default-0   1/1     Running   0          2m46s

es-cluster-es-default-1   1/1     Running   0          2m46s

es-cluster-es-default-2   1/1     Running   0          2m46s

# 查看ES

[root@k8s-master01 eck]# kubectl get es -n logging

NAME         HEALTH   NODES   VERSION   PHASE   AGE

es-cluster   green    3       8.17.0    Ready   2m48s

# 定义变量

[root@k8s-master01 eck]# PASSWORD=$(kubectl -n logging get secret es-cluster-es-elastic-user \

  -o go-template='{{.data.elastic | base64decode}}')

# 输出变量值

[root@k8s-master01 eck]# echo $PASSWORD

8kry7pp6hWP0Vd65z688Pni6

# 查看svc地址为10.110.104.195

[root@k8s-master01 eck]# kubectl get svc -n logging | grep es-cluster-es-http

es-cluster-es-http            ClusterIP   10.110.104.195   <none>        9200/TCP   6m25s

# 查看集群健康状态

[root@k8s-master01 eck]# curl -u "elastic:$PASSWORD" https://10.110.104.195:9200/_cluster/health?pretty -k

{

  "cluster_name" : "es-cluster",

  "status" : "green",

  "timed_out" : false,

  "number_of_nodes" : 3,

  "number_of_data_nodes" : 3,

  "active_primary_shards" : 2,

  "active_shards" : 4,

  "relocating_shards" : 0,

  "initializing_shards" : 0,

  "unassigned_shards" : 0,

  "unassigned_primary_shards" : 0,

  "delayed_unassigned_shards" : 0,

  "number_of_pending_tasks" : 0,

  "number_of_in_flight_fetch" : 0,

  "task_max_waiting_in_queue_millis" : 0,

  "active_shards_percent_as_number" : 100.0

}
1.1 在k8s中一键部署Kibana
参考链接:https://www.elastic.co/docs/deploy-manage/deploy/cloud-on-k8s/kibana-instance-quickstart
Elasticsearch 集群创建完成后,可以使用 Kibana 资源创建一个 Kibana 实例:
1、创建一个定义 Kibana 集群的 Yaml 文件
[root@k8s-master01 eck]# cat  kibana.yaml
apiVersion: kibana.k8s.elastic.co/v1
kind: Kibana
metadata:
  name: kibana
spec:
  version: 8.17.0
  image: registry.cn-hangzhou.aliyuncs.com/github_images1024/kibana:8.17.0
  count: 1
  elasticsearchRef:
    name: es-cluster
  http:
    service:
      spec:
        type: NodePort
    tls:
      selfSignedCertificate:
        disabled: true
2、创建kibana
[root@k8s-master01 eck]# kubectl create -f kibana.yaml -n logging
3、查看状态
# 查看kibana

[root@k8s-master01 eck]# kg kibana -n logging

NAME     HEALTH   NODES   VERSION   AGE

kibana   green    1       8.17.0    88m

# 查看pod

[root@k8s-master01 eck]# kubectl get po -n logging | grep kibana

kibana-kb-79f644d7d-sfpx6   1/1     Running   0          3m33s

# 查看svc

[root@k8s-master01 eck]# kubectl get svc -n logging | grep kibana

kibana-kb-http                NodePort    10.102.8.148     <none>        5601:30502/TCP   4m31s
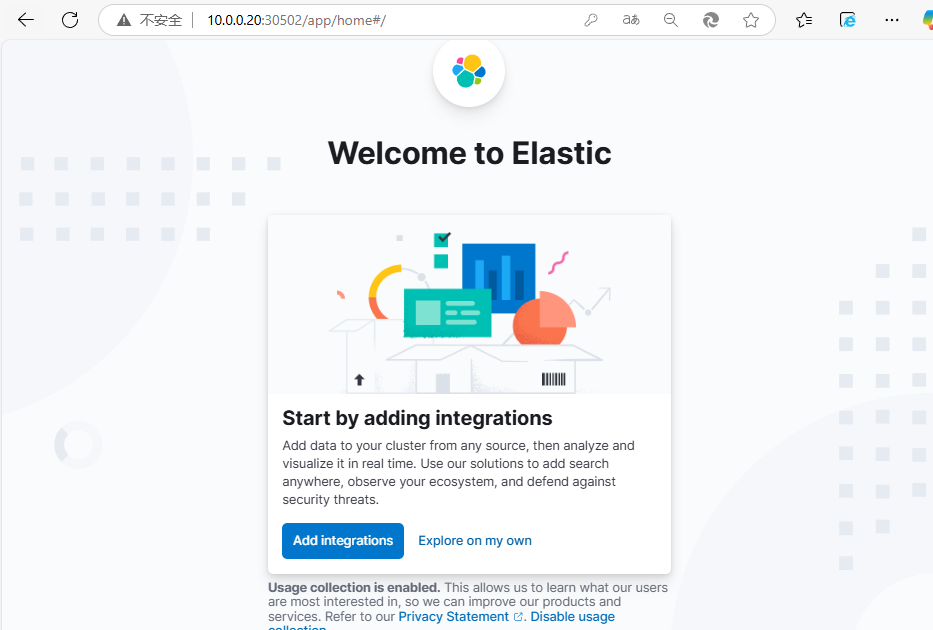
4、待 Pod 启动完成后,即可在浏览器中输入任意节点IP:30502访问 Kibana,用户名和密码和 ES 的一致(用户名为elastic,密码为8kry7pp6hWP0Vd65z688Pni6)
1.1 在K8s中一键部署Zookeeper集群
Zookeeper并不属于 ECK 的资源,所以可以使用 Helm 进行安装:
# Helm部署

[root@k8s-master01 ~]# cd eck/zookeeper/

[root@k8s-master01 zookeeper]# helm install zookeeper . -n logging

# 验证

[root@k8s-master01 zookeeper]# kgp -n logging | grep zookeeper

zookeeper-0                 1/1     Running   0          80s
1.1 在K8s中一键部署Kafka集群
Kafka 并不属于 ECK 的资源,所以可以使用 Helm 进行安装:
# Helm部署

[root@k8s-master01 ~]# cd eck/kafka/

[root@k8s-master01 kafka]# helm install kafka . -n logging

# 查看kafka的pod

[root@k8s-master01 kafka]# kgp -n logging | grep kafka

kafka-0                     1/1     Running   0          76s

# 查看kafka的svc

[root@k8s-master01 eck]# kg svc  -n logging | grep kafka

kafka                         ClusterIP   10.98.49.133     <none>        9092/TCP                     4m30s

kafka-headless                ClusterIP   None             <none>        9092/TCP,9093/TCP            4m30s
1.1 在K8s中一键部署Logstash集群
参考链接:https://www.elastic.co/docs/deploy-manage/deploy/cloud-on-k8s/quickstart-logstash
Logstash 主要用于消费 Kafka 中的数据,之后把数据写入到 ES 集群,接下来使用 Logstash资源创建 Logstash 集群
1、创建一个定义 Logstash 集群的 Yaml 文件
[root@k8s-master01 ~]# cd eck/
[root@k8s-master01 eck]# vim logstash.yaml
apiVersion: logstash.k8s.elastic.co/v1alpha1
kind: Logstash
metadata:
  name: logstash
spec:
  version: 8.17.0
  image: registry.cn-hangzhou.aliyuncs.com/github_images1024/logstash:8.17.0
  count: 1
  elasticsearchRefs:
    - clusterName: es-cluster
      name: es-cluster
  podTemplate:
    spec:
      volumes:
        - name: logstash-data
          emptyDir: {}
  pipelines:
    - pipeline.id: main
      config.string: |
        input {
          kafka {
            enable_auto_commit => true
            auto_commit_interval_ms => "1000"
            bootstrap_servers => "kafka:9092"
            topics => ["k8spodlogs"]
            codec => json
          }
        }
        output {
          elasticsearch {
            hosts => [ "https://es-cluster-es-http:9200" ]
            index => "k8spodlogs-%{+YYYY.MM.dd}"
            ssl_enabled => true
            user => "elastic"
            password => "8kry7pp6hWP0Vd65z688Pni6"
            ssl_certificate_authorities => "${ES_CLUSTER_ES_SSL_CERTIFICATE_AUTHORITY}"
          }
        }
2、应用
[root@k8s-master01 eck]# kubectl create -f logstash.yaml -n logging
3、状态查看
# 查看logstash

[root@k8s-master01 eck]# kg logstash -n logging

NAME       HEALTH   AVAILABLE   EXPECTED   AGE   VERSION

logstash   green    1           1          48m   8.17.0

# 查看pod

[root@k8s-master01 eck]# kgp -n logging | grep logstash

logstash-ls-0               1/1     Running   0          2m32s


暂无评论内容